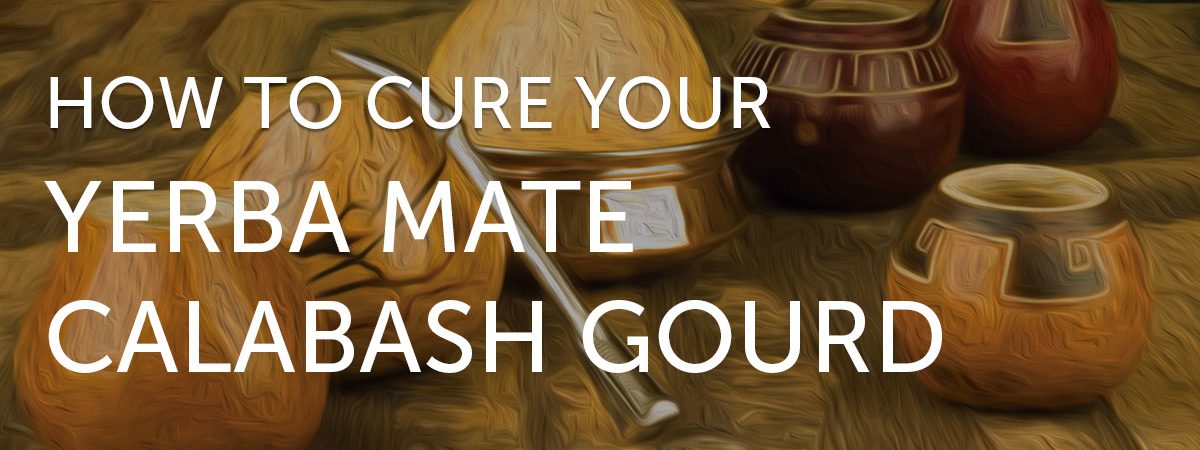
You have read the Gourd Guide and you are up to date on your knowledge of Gourds. You have then decided to stick to good old tradition and pick a Calabash Gourd. Lovely choice!
This guide will walk you through the important process of curing your natural Calabash Gourd.
Why should I cure the gourd?
Calabash (Calabaza in Spanish) Gourds are made of a natural material. The material is the species Lagenaria siceraria. It is grown as a vine and it has been used as a gourd since time immemorial.
The fact that Calabash and Wooden Gourds are organic in nature means they add a certain flavour to your Yerba Mate. The organic compounds found in the Yerba get trapped in the fibres of these gourds where they mix with the compounds of the gourd itself and use after use release themselves into your beverage to add subtle and interesting flavour.
Initially the natural compounds found in the walls of your natural gourd will be too concentrated, curing will soften the blow of the gourd flavour on your initial use. Naturally, the more you use your natural gourd, the less gourd flavour you’ll get.
The curing process is same for a Calabash and Wooden gourds; all you have to remember is not to go too crazy when scraping the Yerba out after the cleaning. You don’t want to poke a hole in your newly purchased gourd.
The Curing
This process is a little time consuming but good things come to those that wait. It is worth it! Make sure you read and follow the steps below carefully to ensure best results for the curing process.
- Fill the Gourd with regular tap water and empty it. This is to give it a simple quick wash and get rid of any loose plant material
- Get a spoon and scrape the inside gently (don’t go crazy here) to again get rid of any plant material that might be sticking out of the walls of the Gourd
- Fill with tap water and empty, again to get rid of the stuff you just dislodged from the walls of the Gourd
- Fill the Gourd to the top with Yerba Mate, any brand will do
- Gently add Yerba Mate water to the rim (water heated to 75 – 80 C), I say gently because otherwise your Yerba will fly everywhere!
- Wait a minimum of 12 hours, adding a little bit of your Yerba Mate water every few hours to top up the water
- Now that the 12 hours have passed, grab a spoon and again scrape out all the Yerba (throw it away) sitting in your Gourd
- Give your Gourd a quick wash under tap water
- Repeat the above
After doing the above twice (i.e. 24 hours) your natural Yerba Mate Gourd is ready for use.
Palo Santo Gourds
Holy Wood, known in Spanish as Palo Santo is a wild tree native to Central and South America. It is a Hardwood of the Burseraceae family.
You can buy Yerba Mate Gourds made from Palo Santo wood. If you have one of those then we would advise you NOT to cure the Gourd, at least not like the above steps.
Hardwoods are more prone to cracking if they absorb too much of the water at once. Palo Santo gourds require a lot more patience as you really should cure them very slowly.
Simply use the Gourd as if it was cured BUT always allow 24 hours before next use. This will give the Gourd enough time to get rid of the moisture it absorbed during use.
Daily Care
If you’ve finished drinking your Yerba Mate, always empty out your natural Gourd. The last thing you need is mould growth in the fibres of your natural Gourd. Simply pick a spoon, and empty out all the Yerba and wash with tap water.
After the wash, it is essential to place your Gourd in a dry warm place. I put mine near the radiators at home. This will ensure they dry nice and slowly for a prolonged life of use.